.webp)
Anyone can send a file to a plotter. Getting sharp corners, easy weeding and zero wasted rolls is another story. That is what cutting vinyl well is about: the right blade, force, loading and test cut before every job.
This how-to from Skycut India walks you through cutting vinyl on a cutting plotter – settings by material, loading tips, detail work, weeding and fixing the problems shops see every day. For a broader overview of the craft, see vinyl cutting; for the material itself, see vinyl.
Key rules for cutting vinyl
- Test cut every new roll before you cut the customer job.
- Blade depth first, force second – cut the vinyl, not the liner.
- 45° blade for standard vinyl; 60° for thick radium and specialty films.
- Load straight – crooked vinyl causes drifting on long lettering.
Before you start cutting vinyl
Vector file with closed paths and text converted to curves
Correct vinyl for the job (indoor, outdoor, radium or HTV)
Sharp blade matched to the material thickness
Clean cutting strip and free-turning blade holder
Pinch rollers set on the vinyl edges, not in the middle only
A small area reserved for a test cut
Step-by-step: cutting vinyl
Prepare a clean cut file
Use closed vector paths, convert text to curves, weld overlapping shapes and remove duplicate lines.
Fit the right blade
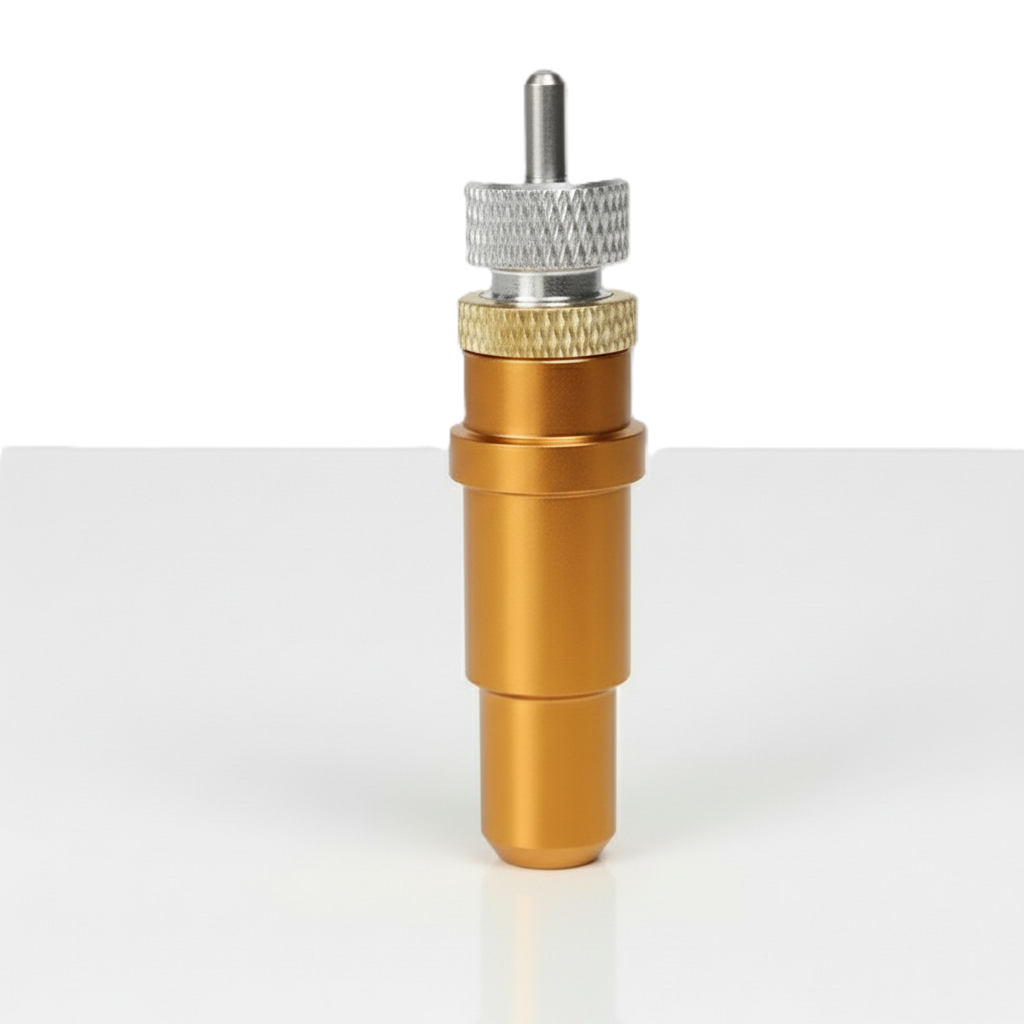
Use 45° for standard vinyl; 30° for fine detail; 60° for thick radium and specialty films.
Load the vinyl straight
Align the roll with the guide marks, set pinch rollers on the edges and pre-feed long jobs.
Set force and speed
Start low, then adjust until a test cut weeds cleanly without cutting the liner.
Run a test cut
Cut a small square or letter, weed it, and fine-tune blade depth or force before the full job.
Cut, weed and apply
Send the job, weed soon after cutting, apply transfer tape and place the graphic on a clean surface.
Perfect test cut: The shape weeds easily and the liner shows only a light scratch. If letters do not lift, raise force or extend the blade slightly. If the liner is cut through, reduce depth first.
Settings by vinyl type
Use these as starting points, then fine-tune with a test cut. Exact force numbers vary by brand and machine.
| Vinyl type | Blade | Force | Speed |
|---|---|---|---|
| Standard sign vinyl | 45° | Low–medium | Fast |
| Thin cast vinyl | 45° | Low | Medium–fast |
| Heat-transfer vinyl (HTV) | 45° | Low–medium | Medium |
| Printable vinyl / sticker paper | 45° | Medium | Medium |
| Radium / reflective film | 45°–60° | High | Slow–medium |
| Glitter / specialty vinyl | 45°–60° | Medium–high | Slow |
- Save presets for each vinyl brand you use regularly.
- Replace blades sooner after cutting radium or glitter – they dull faster.
- Use a double pass on very thick film instead of extreme force that can shift the material.
Loading vinyl correctly
- Align the vinyl with the machine’s guide marks so the edge is straight.
- Place pinch rollers over the grit roller, near both edges of the material.
- Leave a little vinyl hanging past the cutting strip for a clean start.
- Pre-feed long jobs a short distance to check for sideways drift.
- Keep the roll loose enough to unwind freely – a stuck roll pulls the material crooked.
Cutting small text and fine detail
Avoid ultra-thin strokes
Very thin lines and tiny serifs tear when weeding, especially on radium.
Slow the machine down
Lower speed keeps corners sharp on small letters and tight curves.
Weld script fonts
Overlapping letters should cut as one outline, not separate paths.
Use a sharp blade
A fresh 30° or 45° blade makes the biggest difference on detail work.
Struggling with vinyl cut quality?
We can recommend the right Skycut plotter, blade setup and settings for the vinyl you cut every day.
Weeding after cutting vinyl
- Weed soon after cutting – fresh cuts release more easily.
- Start from a corner and peel waste at a low angle so small pieces stay down.
- Use a weeding hook for centres of letters (O, A, B, D) and tiny shapes.
- Add a weeding box around complex designs to protect edges while you peel.
- Choose transfer tape that matches the vinyl: standard for smooth film, higher tack for textured or reflective film.
.webp)
Troubleshooting when cutting vinyl
| Problem | Likely cause | Fix |
|---|---|---|
| Vinyl not fully cut | Force low, blade short or dull | Raise force, extend blade or fit a fresh blade |
| Liner cut through | Blade too deep or force too high | Reduce blade depth, then lower force |
| Torn / rounded corners | Dull blade, wrong offset or high speed | New blade, correct offset, slower speed |
| Long jobs drifting | Crooked loading or uneven pinch rollers | Reload straight, check rollers, pre-feed |
| Hard weeding | Incomplete cut or weeding too late | Improve test cut; weed soon after cutting |
| Vinyl lifting while cutting | Force too high for the grip | Lower force; use a second pass if needed |
Mistakes to avoid when cutting vinyl
- Skipping the test cut – every brand and roll can behave differently.
- Using a dull blade – raising force to compensate ruins liners and cutting strips.
- Cutting indoor vinyl for outdoor jobs – the cut may look fine, but the graphic fails outdoors.
- Sending open or duplicate paths – the blade cuts twice or leaves shapes incomplete.
- Ignoring tracking on long strips – reload and check rollers before reflective chevrons and banners.
Best machines for cutting vinyl
| Your vinyl work | Recommended machine |
|---|---|
| Everyday vinyl lettering & stickers | Skycut V24 |
| All-day vinyl & radium cutting | Skycut VH-24 / VH-48 |
| Printed vinyl stickers & labels | Skycut C24 / CX24 |
| Thick reflective & specialty vinyl | Skycut D24 / D48 |
Related reading: vinyl cutter buying guide, professional cutting guide and vinyl cutting machine price in India.
Frequently asked questions
Final thoughts
Cutting vinyl well is a repeatable habit: clean files, the right blade, straight loading, a test cut, then weed and apply. Master those steps and your letters stay sharp, your waste drops and customers notice the finish. Pair good technique with a reliable plotter such as the Skycut V24 or servo VH Series, and vinyl jobs become faster every day.
.webp)
.webp)
.webp)